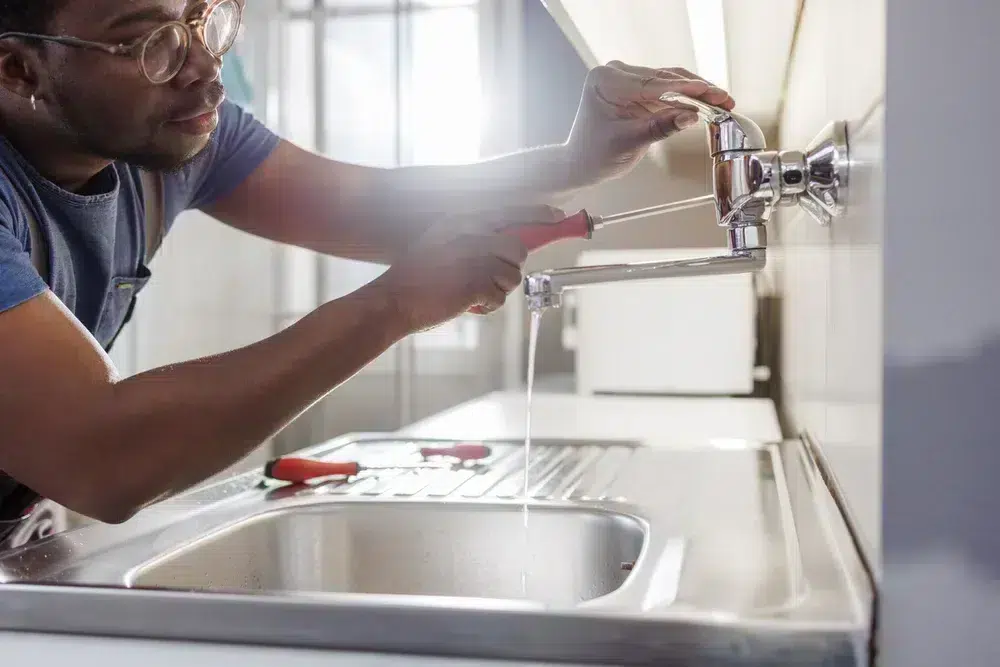
Addressing common kitchen sink problems can often feel daunting for homeowners.
Whether it’s a persistently dripping faucet, a sink drain leaking, or dealing with a more sinister kitchen sink drain leak, the disruption to daily life and the potential for significant water wastage or damage make kitchen sink repair a critical skill to master.
Fortunately, with the proper guidance and tools, fixing a sink or tackling kitchen sink leak repair can be straightforward, preventing costly interventions.
This article will provide an in-depth look into the essential tools and materials needed for successful kitchen sink plumbing repair, step-by-step instructions for addressing the most frequent problems, such as faucet kitchen sink repair, and tips for maintaining your kitchen sink to avoid future issues.
Through these segments, readers will gain the confidence to tackle kitchen sink repair tasks, learn about the potential kitchen sink repair cost, and ensure their kitchen remains functional and leak-free.
Common Kitchen Sink Issues
Leaky Faucets
Leaky faucets are a frequent nuisance in many households, often characterized by a persistent drip that not only wastes water but can significantly increase water bills.
According to the Environmental Protection Agency’s WaterSense program, a faucet dripping at a rate of once per second can waste over 3,000 gallons of water annually. If not addressed promptly, this issue can lead to permanent mineral stains, deteriorating grout, and even water damage to cabinetry or floors.
Common causes include worn O-rings, deteriorated valve cartridges, or a faucet that needs tightening.
Clogged Drains
Clogged drains are among the most common kitchen sink issues, typically resulting from food debris, grease, or foreign objects obstructing the flow.
Signs of a clogged drain include slow drainage, backflow, and, in severe cases, a complete halt in water movement. Homeowners can often address minor clogs with plungers or eco-friendly solutions like baking soda and vinegar.
However, persistent or severe blockages might require a plumber’s snake or a professional intervention to remove the obstruction effectively and prevent potential pipe damage.
Faulty Sealants
Faulty sealants can compromise the integrity of a kitchen sink’s connection to the countertop, leading to water seepage that can damage cabinets and encourage mold growth.
Ensuring a watertight seal involves using high-quality, 100% silicone sealant designed for kitchen use. Proper application includes:
- Cleaning the surface thoroughly.
- Applying the sealant smoothly.
- This allows it to cure completely and ensures durable protection against water and moisture.
Regular checks and maintenance can prevent the issues associated with old or damaged sealants.
Essential Tools and Materials for Sink Repair
Tool List
Specific tools are indispensable for effective kitchen sink repair. Key among these is the Basin Wrench, designed explicitly for reaching tight spaces under the sink, making it easier to grip and turn bolts and fasteners.
Additionally, every DIY plumber should have Adjustable Wrenches in multiple sizes for tasks like replacing faucets and Tongue and Groove Pliers, which are ideal for various gripping and tightening functions due to their long handles and adjustable jaws. Plumber’s Putty and Plumber’s Tape are also crucial for creating watertight seals and preventing leaks at threaded joints, ensuring a durable repair.
Material Recommendations
When selecting materials for sink repair, opt for high-quality options that ensure longevity and effectiveness. Plumber’s Putty is essential for forming solid and watertight seals. At the same time, a plumber’s tape is vital for addressing leaky threaded joints and helping to secure a leak-free connection.
These materials are effective and cost-efficient, providing peace of mind with every repair.
Step-by-Step Guide to Fixing Common Problems
Fixing Leaks
- Identify the Source: Begin by shutting off the water supply to prevent further leakage. Check the supply lines and valve stems for signs of wear or damage, as these are often under constant pressure and susceptible to leaks.
- Tighten or Replace Components: Use a basin wrench or channel locks to tighten retention nuts at the faucet base or replace worn gaskets and O-rings. If the leak persists, consider applying sealant or replacing the entire component.
Unclogging Drains
- Assess the Blockage: Determine the location of the clog. If the water drains slowly or not, the blockage is likely in the P-trap or further down the drain line.
- Remove and Clean the P-trap: Place a bucket underneath to catch any spillage. Unscrew the P-trap connectors and inspect for clogs. Clean or replace the trap as necessary.
- Use a Plunger or Auger: A plunger or a plumbing snake can be effective for stubborn clogs. Ensure a good seal with the plunger, and use the drill to reach deeper blockages.
Resealing the Sink
- Clean the Area: Remove old sealant using a putty knife. Clean the sink and countertop surface with isopropyl alcohol to ensure a grease-free surface, which is crucial for a good bond.
- Apply New Sealant: Choose a 100% silicone sealant for its waterproof and mold-resistant properties. Apply the sealant smoothly around the edge of the sink, ensuring even coverage without gaps.
- Smooth and Dry: Use a caulking tool or finger to smooth the sealant line for a professional finish. Allow the sealant to cure per the manufacturer’s instructions before using the sink to ensure a durable seal.
Maintaining Your Kitchen Sink
Cleaning Tips
Regular cleaning is crucial to maintaining the functionality and appearance of your kitchen sink. Start by rinsing the sink to remove any loose food residue.
Apply mild dish soap to a non-abrasive sponge and wipe the surface in gentle, circular motions. For stainless steel sinks, follow the direction of the brushed finish to avoid scratches.
After cleaning, rinse thoroughly with clean water and dry with a microfiber cloth to prevent water spots and mineral deposits.
Preventive Measures
Never dispose of fats, oils, grease, fibrous foods, or expandable items like pasta and rice down your sink to avoid clogs and maintain a clean drainage system. These substances can cause severe blockages as they accumulate.
Instead, use a protective drain cover to catch solid waste and dispose of it in the trash.
Regularly running hot water down the drain can help dissolve any residual fats and oils. Additionally, consider using a mixture of baking soda and vinegar monthly to maintain clear pipes and prevent odor buildup or even better, use BioOne.
When to Call a Professional
While many sink maintenance tasks can be handled at home, certain situations require professional expertise. Contact an experienced plumber if you encounter persistent clogs, leaks, or damage to your plumbing system. G&C Plumbing & Heating provides thorough inspections and maintenance services to ensure your plumbing system remains in optimal condition. Their experienced technicians can address complex issues, offering solutions that prevent future plumbing problems.
Call (508) 966-8919


